

 Réalisation - Pantograph
Etape 1
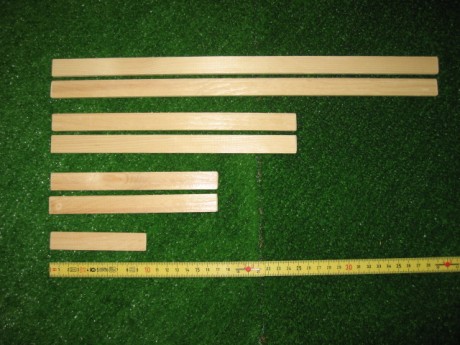
Saw the two slats to create :
2 pieces of 40 cm
2 pieces of 25 cm
2 pieces of 17 cm
1 piece of 10 cm.
Rub the ends with sandpaper.
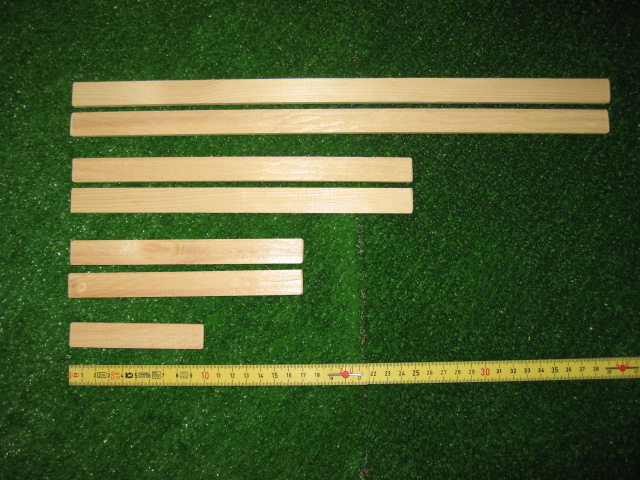
Etape 2
Mark crosses to indicate where to drill holes according to the photo.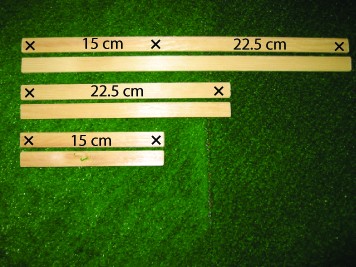

Etape 3
Taking the slats in pairs, drill the holes using the bits indicated on the photo.

A standard pencil fits in a 7.5 mm hole. Adapt the size of the hole to the pen you intend to use. 

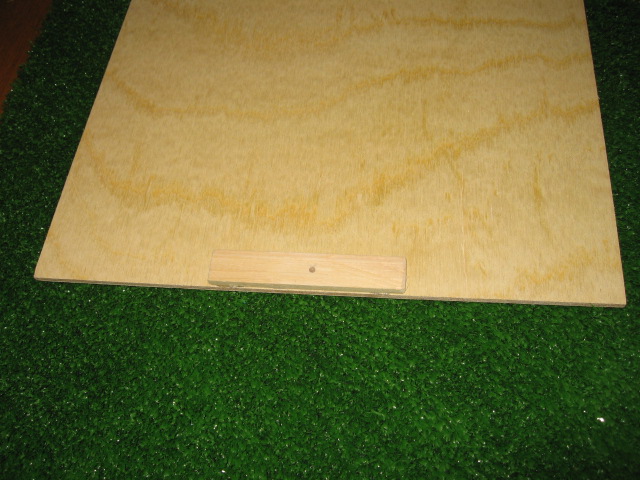
Etape 4
Glue the 10 cm wooden slat at the bottom edge of the board, right in the middle.
Then drill with a 3 mm bit the center of this bar.

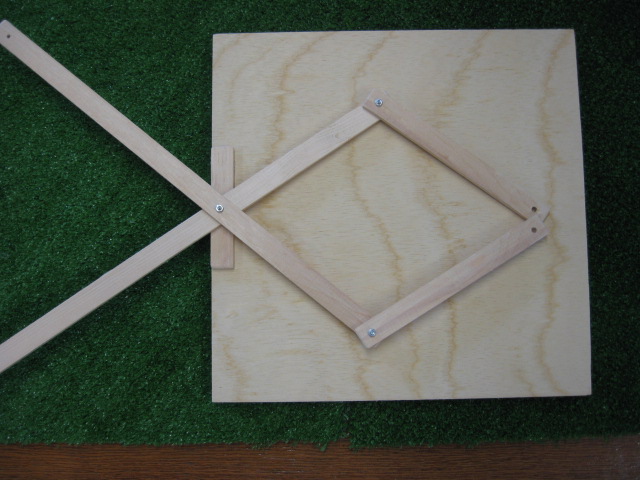
Etape 5
Attach the center holes of the 40 cm slats with M3x25 bolts and nuts.
Then attach with two bolts M3x15 and nuts the two 17 cm slats at the end of the short sides of the large slats.
Be careful not to overtighten so that the different parts can move in the relation to each other! 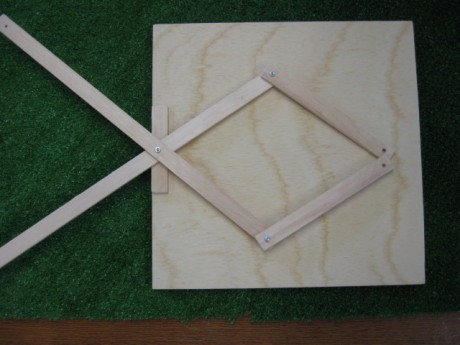
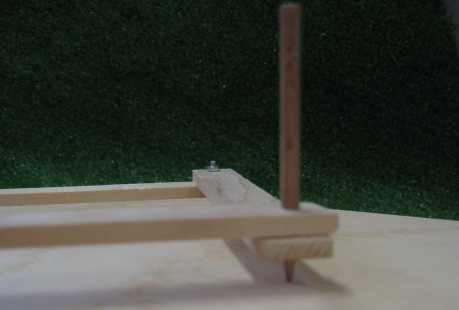
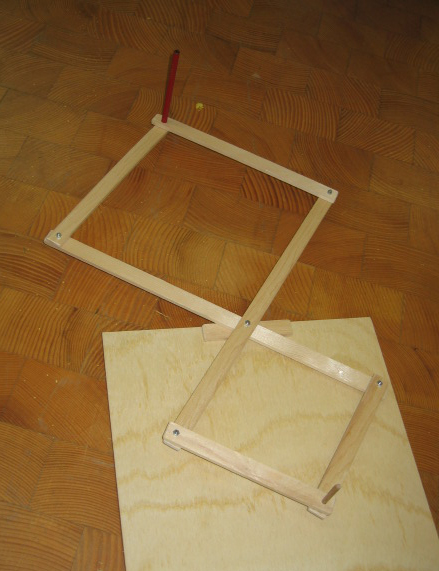
Etape 6
Sharpen the tip of the 7 cm wooden rod with a pencil sharpener to create a pointed pin. Insert it at the end of the two small wooden slats. Pointed side down.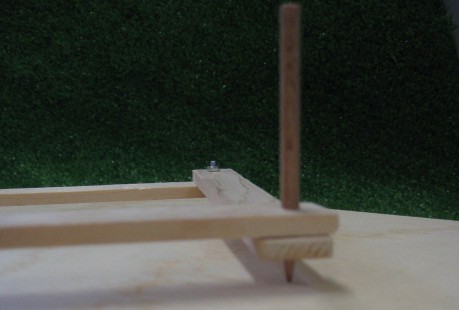
Etape 7
Fix the 25 cm slats at the other end to the long slats using the remaining M3x15 bolts and nuts.
Pass the pencil or felt pen through the two large holes.

 |  |  |  |  |  |  |
0 Commentaire(s) | Ajouter