

 Réalisation - Pocket Sundial
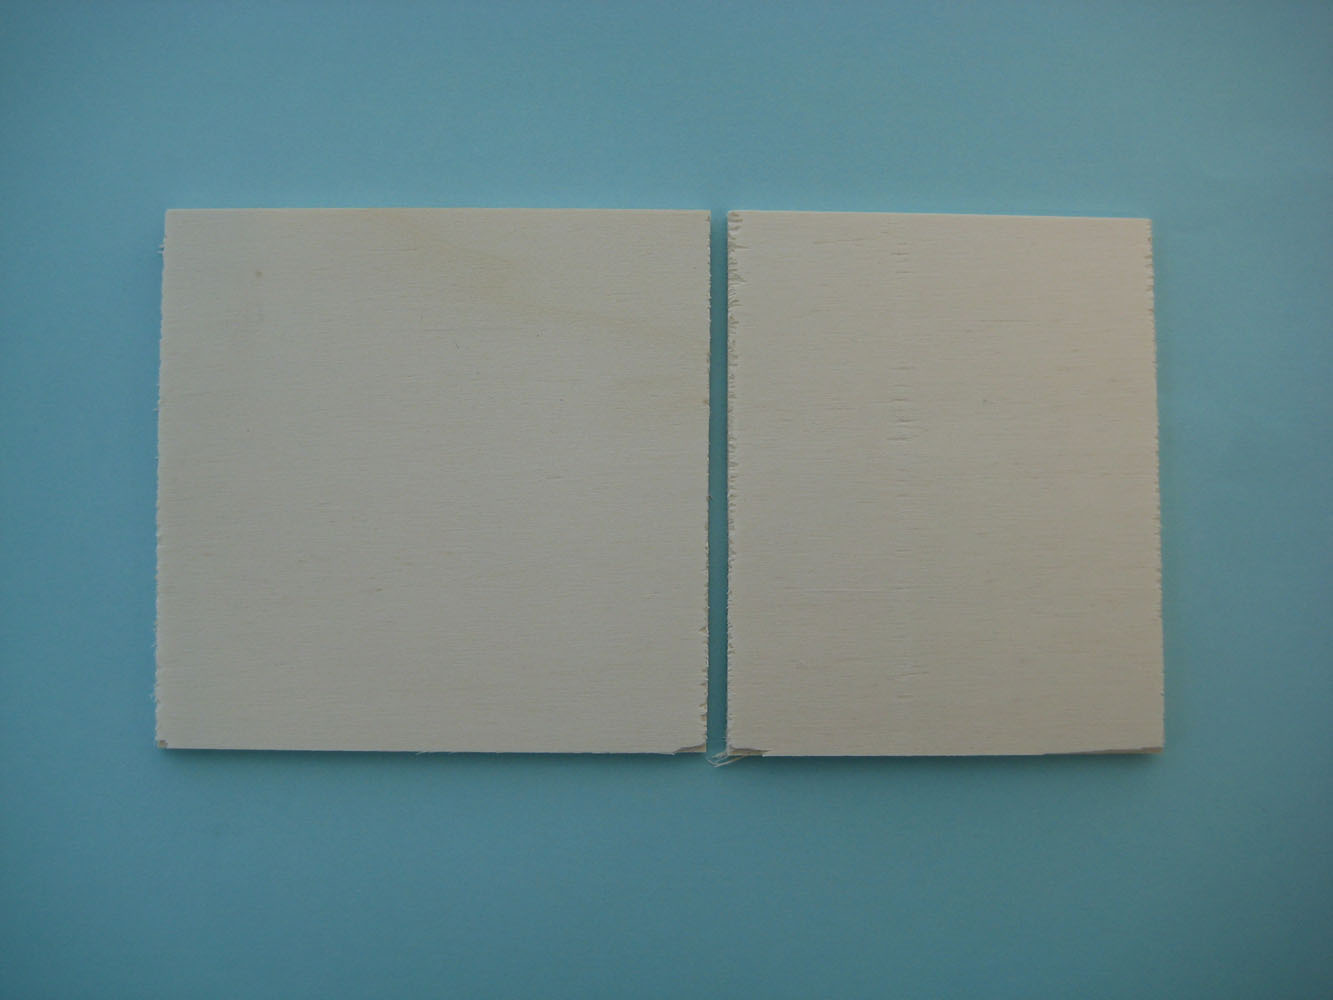
Etape 1
Smoothen the edges of the two wooden boards with sandpaper.
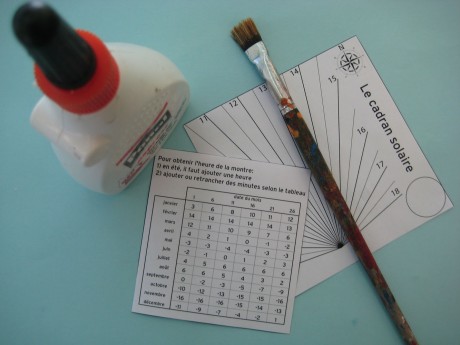
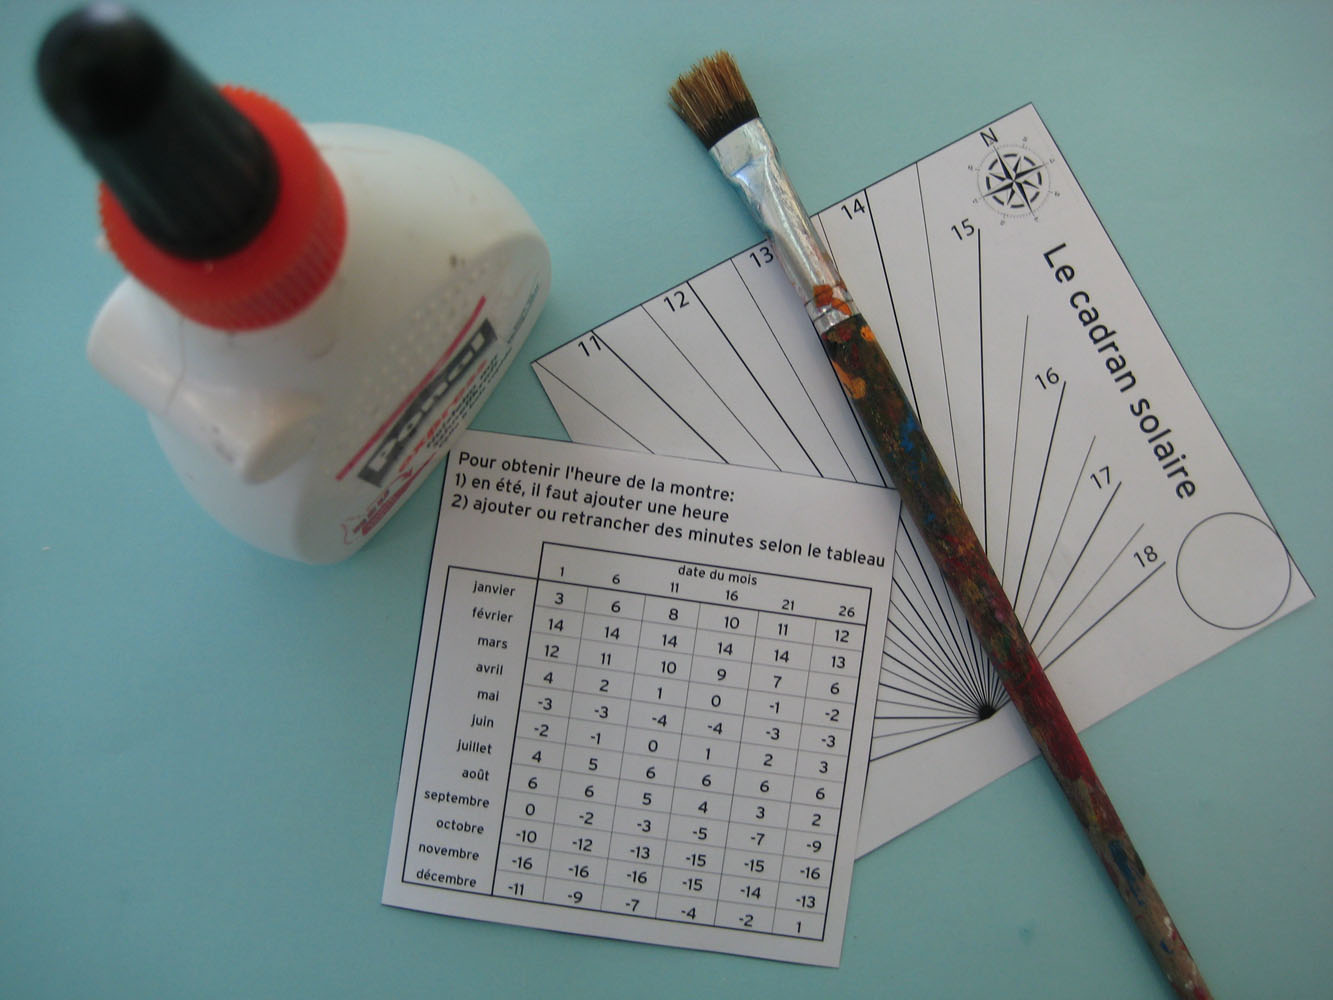
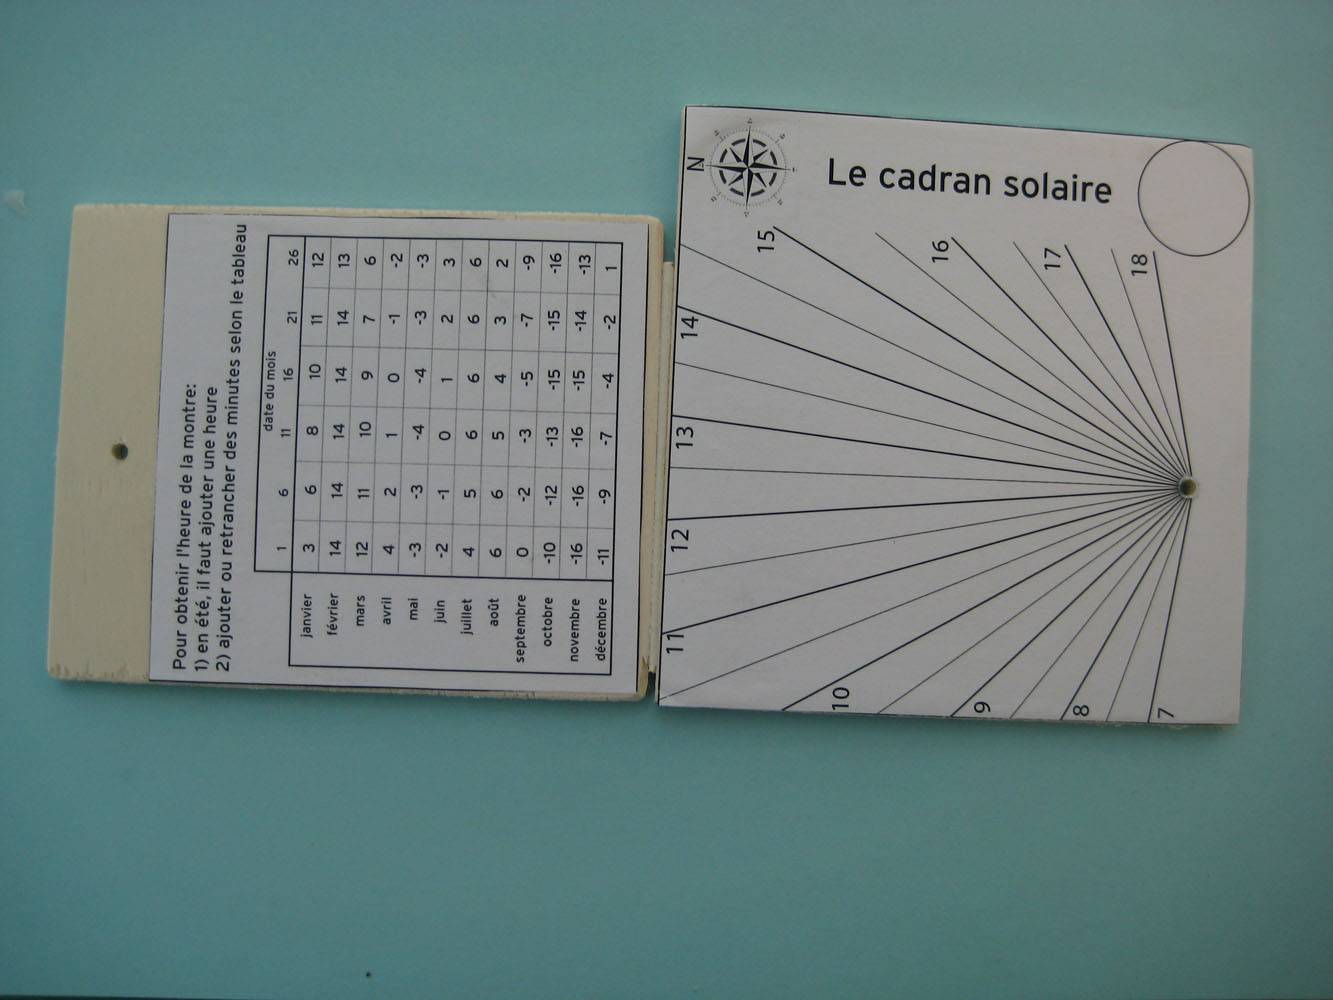
Etape 2
Print and cut out with a pair of scissors the two diagrams from the downloadable model (section blueprints/plans)rectangles from the downloadable model.
Using white glue and a brush, paste them on the two wooden boards.
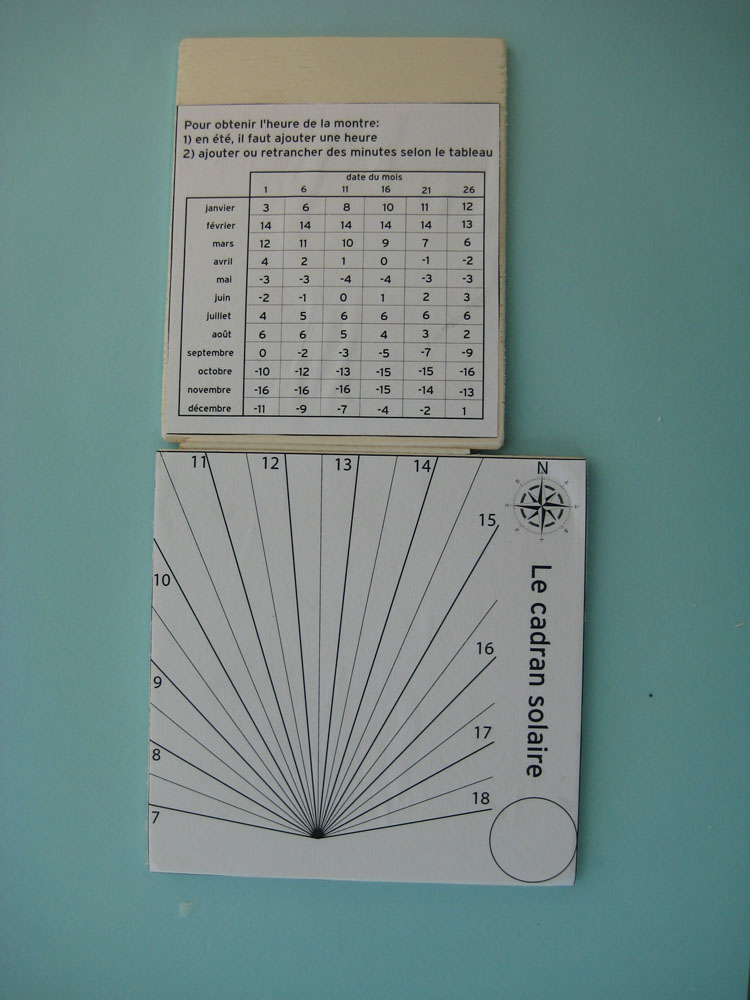
Etape 3
Position the two boards one against each other as shown in the picture and stick them together by creating a hinge with thick adhesive tape.

Stick the tape only when the two boards are on top of each other (sundial closed), otherwise it will be impossible to close the sundial. 
Etape 4
With the help of a drill (3 mm bit ), make a hole in the larger board where all the lines meet on the drawing.
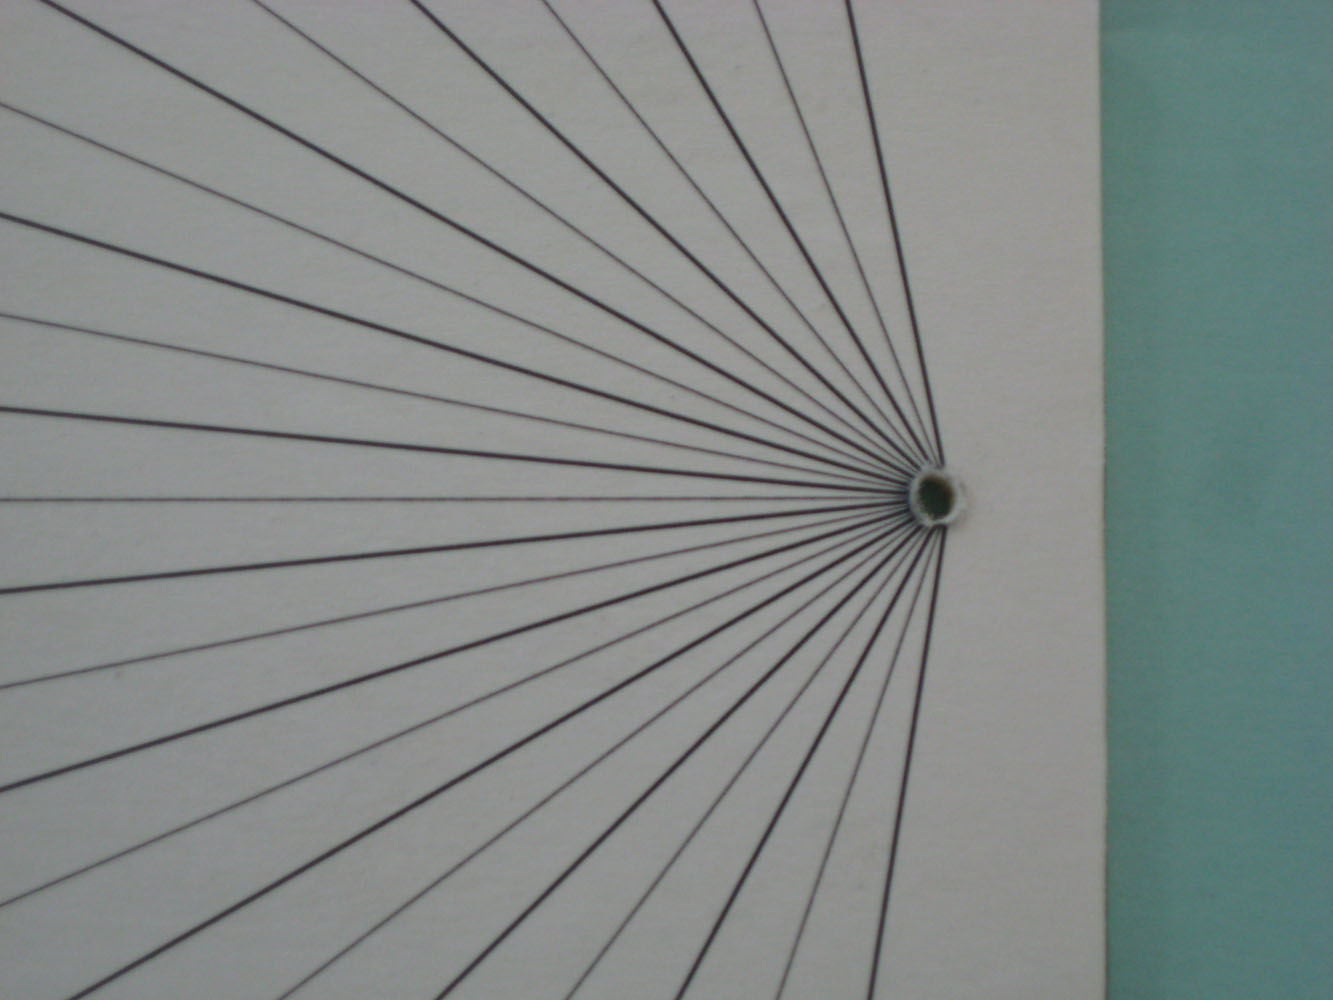
Etape 5
Close the boards against each other and make a hole in the second board exactly at the same place than the first hole.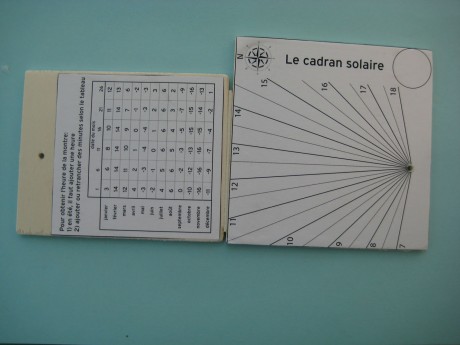
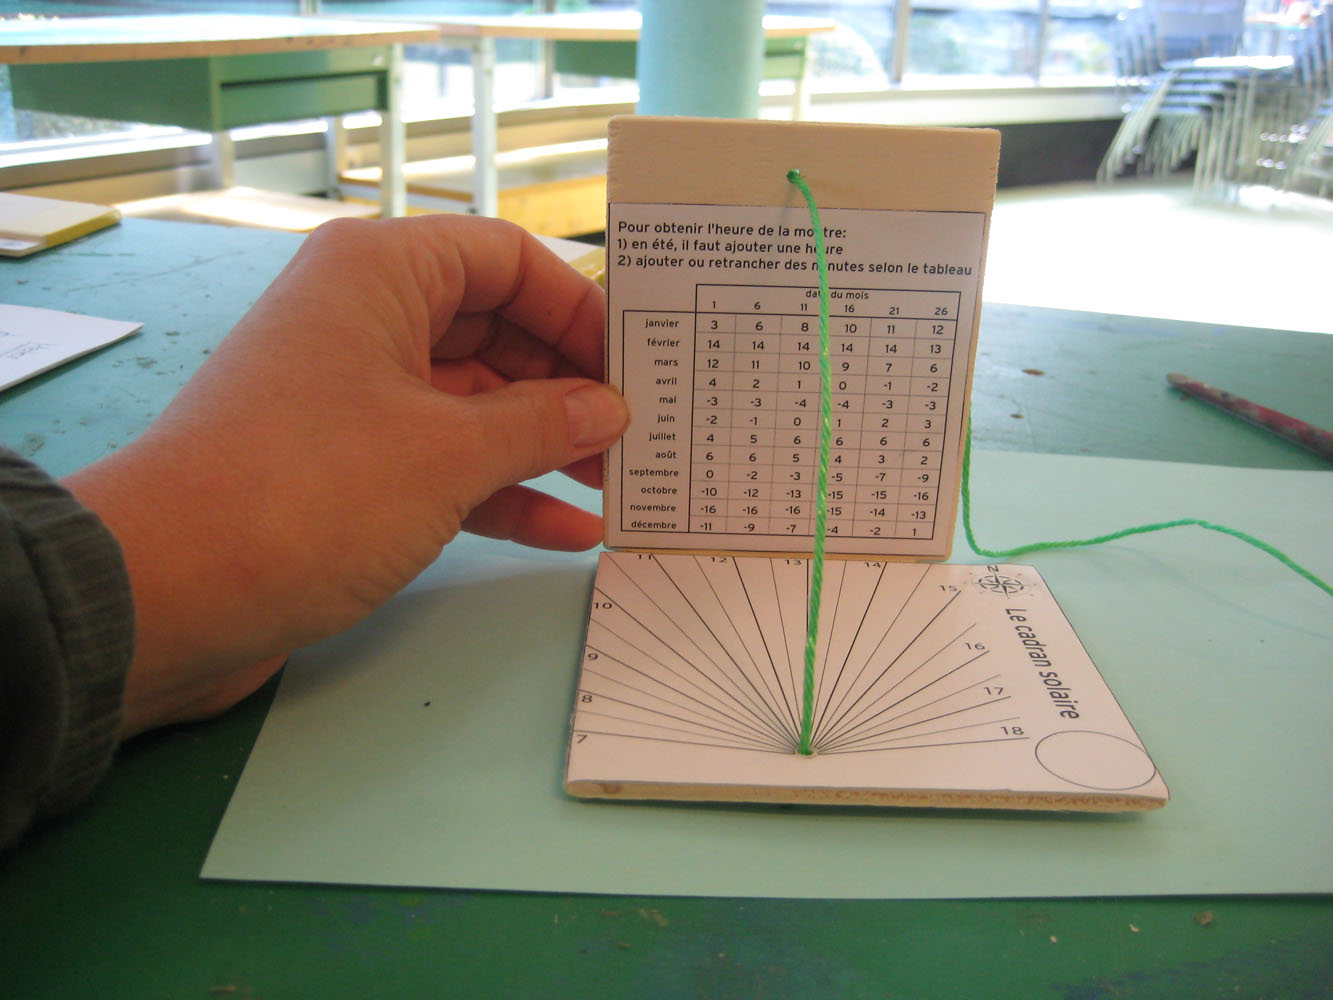
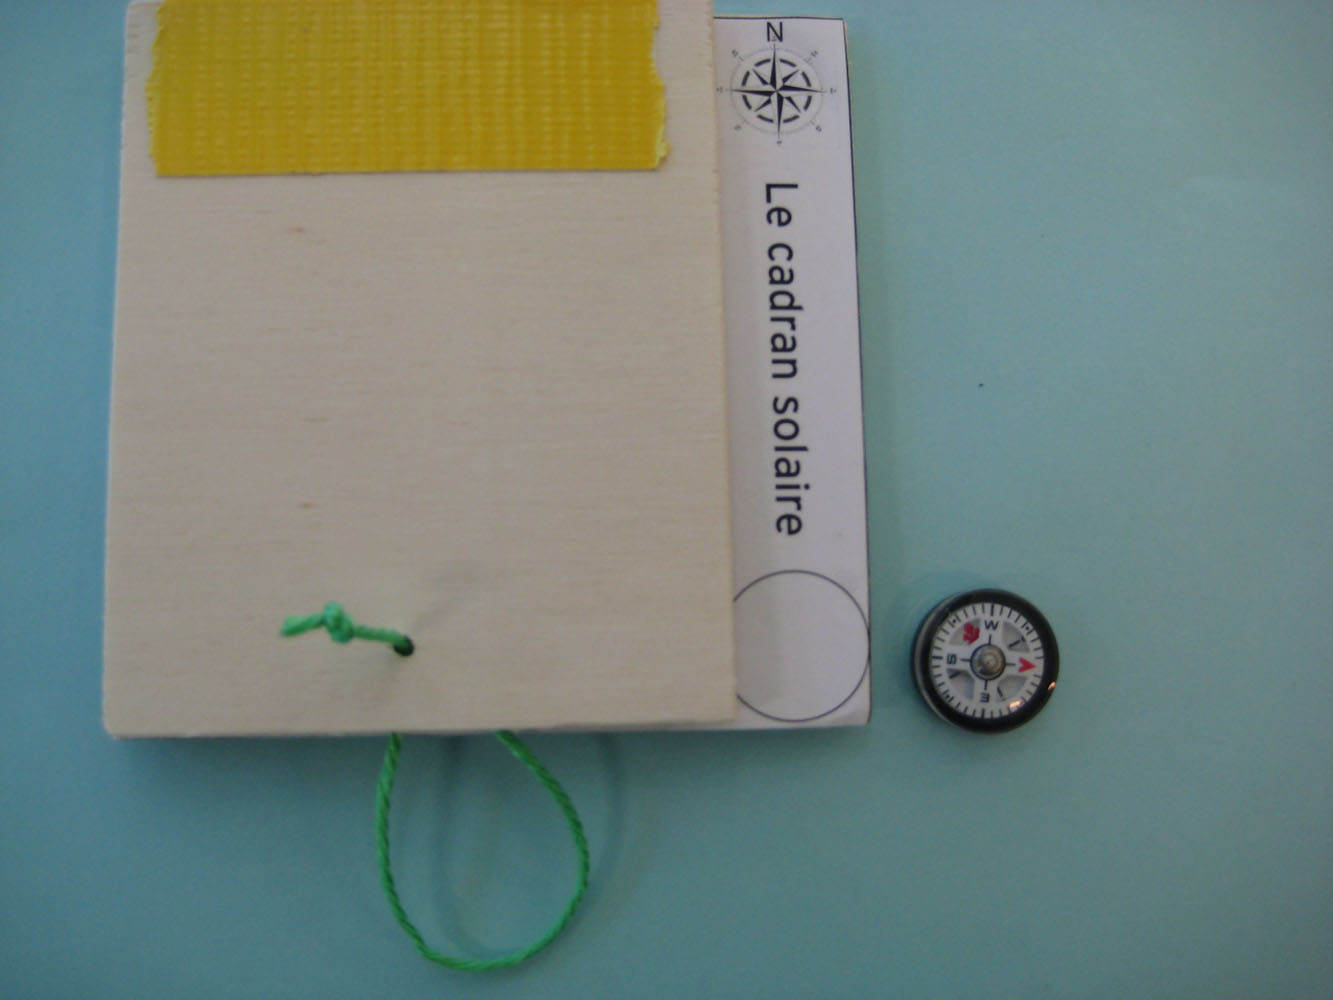
Etape 6
Cut a piece of string of about 20 centimeters
Tie a knot at one end and pass the string through the two holes
Then tie a knot on the other side so that the two plates are standing at a 90° angle when the string is stretched.
Etape 7
Using the glue gun, paste the small compass on the circle drawn on the larger board.
Check if the compass is glued in the right direction and that when the board is positioned on a flat surface the needle turns freely. 
 |  |  |  |  |  |
0 Commentaire(s) | Ajouter